Initial Setup
First of all, we need a way to connect to the server. Though it’s simple on Linux or MacOS, for Windows you will need an SSH client like Putty or Bitvise. Download it and connect it to your server
Switch to the root user
1 | sudo -i |
Set the hostname with the following command on Ubuntu
1 | hostnamectl set-hostname mail |
Don’t forget to replace inlearn.in with your domain name.
Then open hosts with the following command
1 2 | apt install nano -ynano /etc/hosts |
Now add the following lines and don’t forget to replace the domain name and IP
After that add a short hostname
1 | nano /etc/hostname |
Just make sure your short hostname is present in the file. If not just add it and reboot.
Let’s update the OS.
1 2 | apt update -yapt upgrade -y |
We need to install dialog package, which is in the universe repository. To enable that, use the following command.
1 2 | sudo add-apt-repository universesudo apt update |
Next, install gzip package
1 | apt install -y gzip dialog |
Our initial setup is complete now.
Installing iRedMail
Here the first step would be to get the iRedMail. Go to the iRedMail website and download the installer.

Now connect to your server with any FTP client, let’s say WinSCP or FileZilla, and upload the iRedMail installer. Or, alternatively, download with the following command
Next, extract it and begin the installation with the following command
1 2 3 | tar zxvf 1.6.8.tar.gzcd iRedMail-1.6.8bash iRedMail.sh |
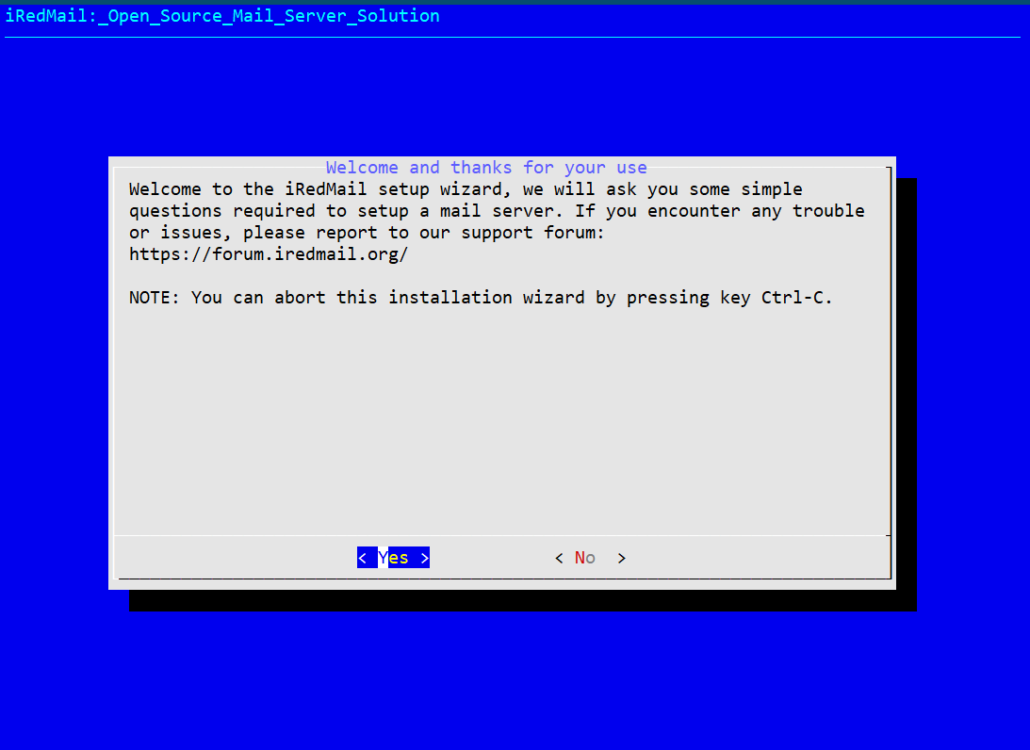
Answer the series of questions appearing on your screen to finalize the iRedMail installation.
Select email directory location

Select webserver type, if you don’t want to run any applications on this server you can skip it.

Select database type. If you want to run mail only server use OpenLDAP but if you are planning to host application as well then select MariaDB or PostgreSQL.
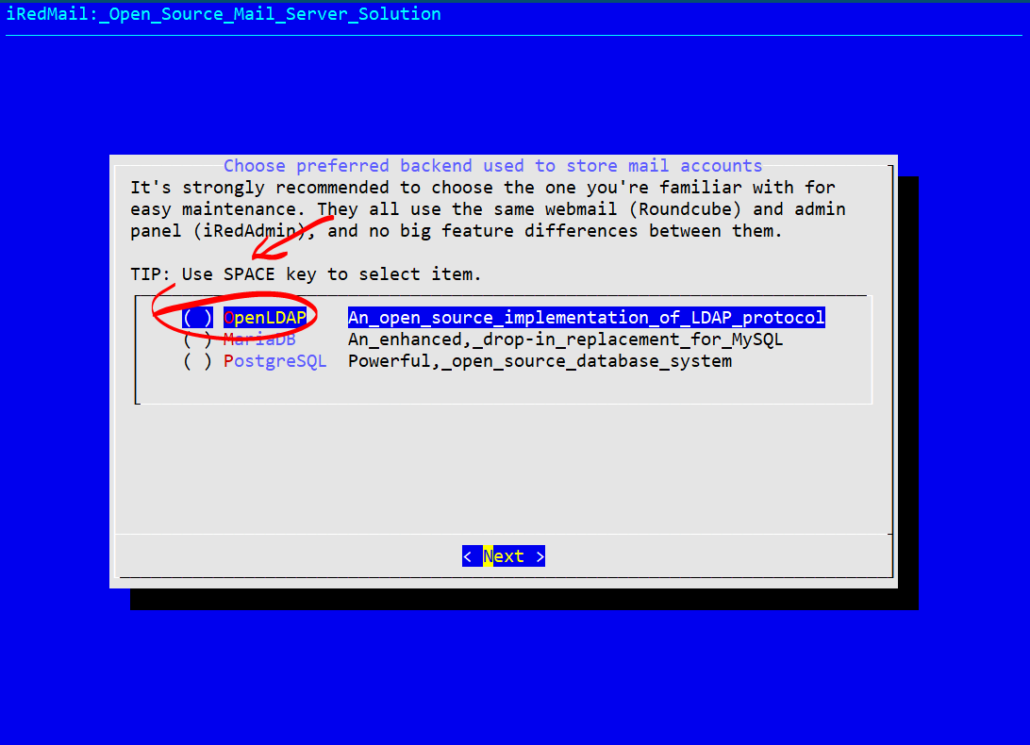
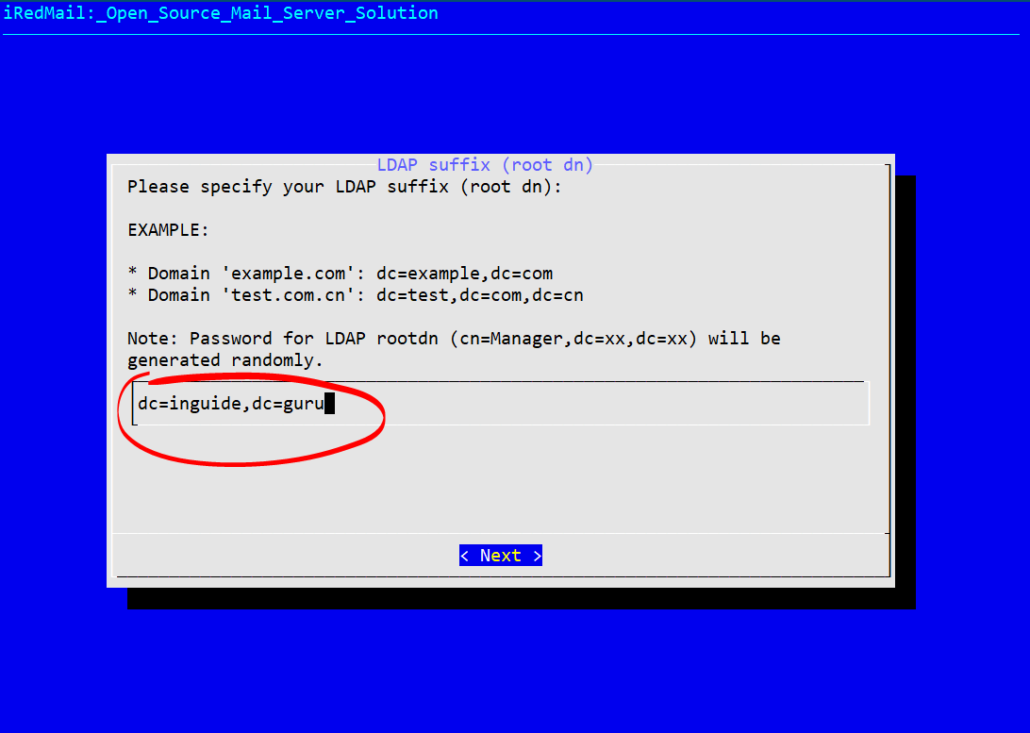
The following screen pops up only if you select OpenLDAP.
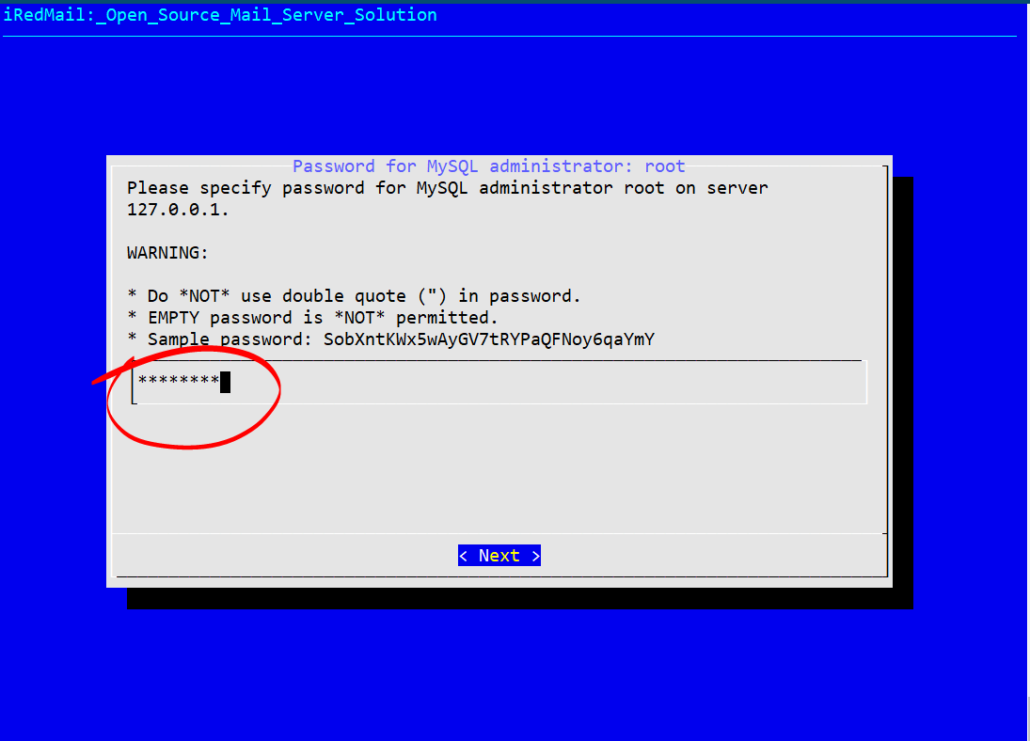
Now type the MySQL administrator password
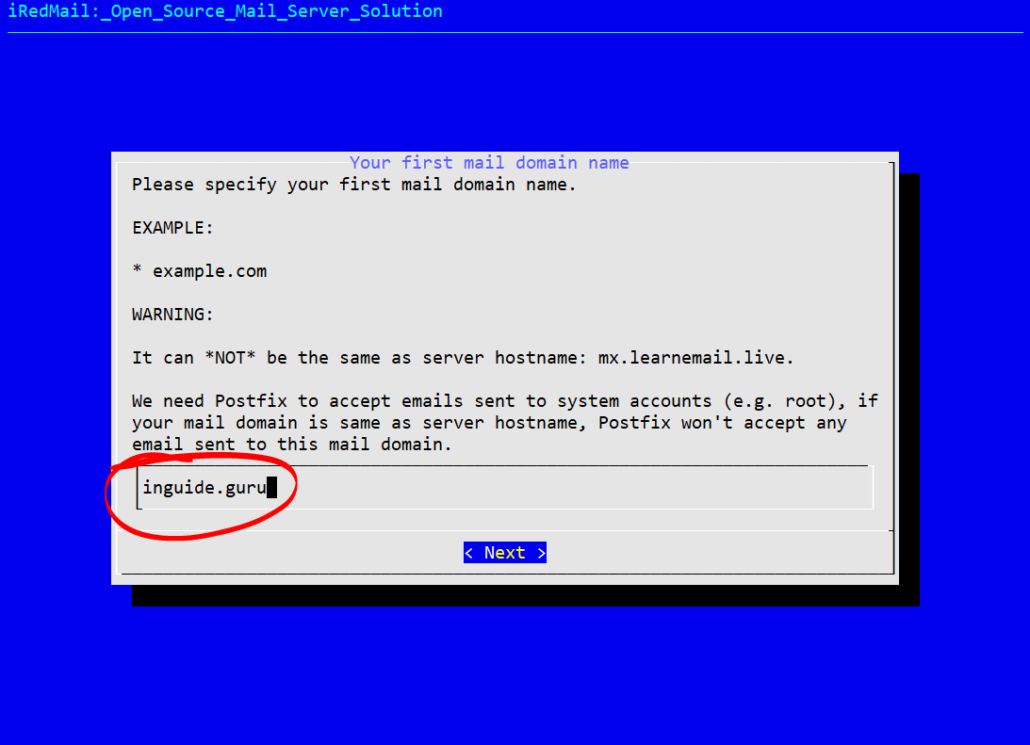
Finally, enter the domain name here
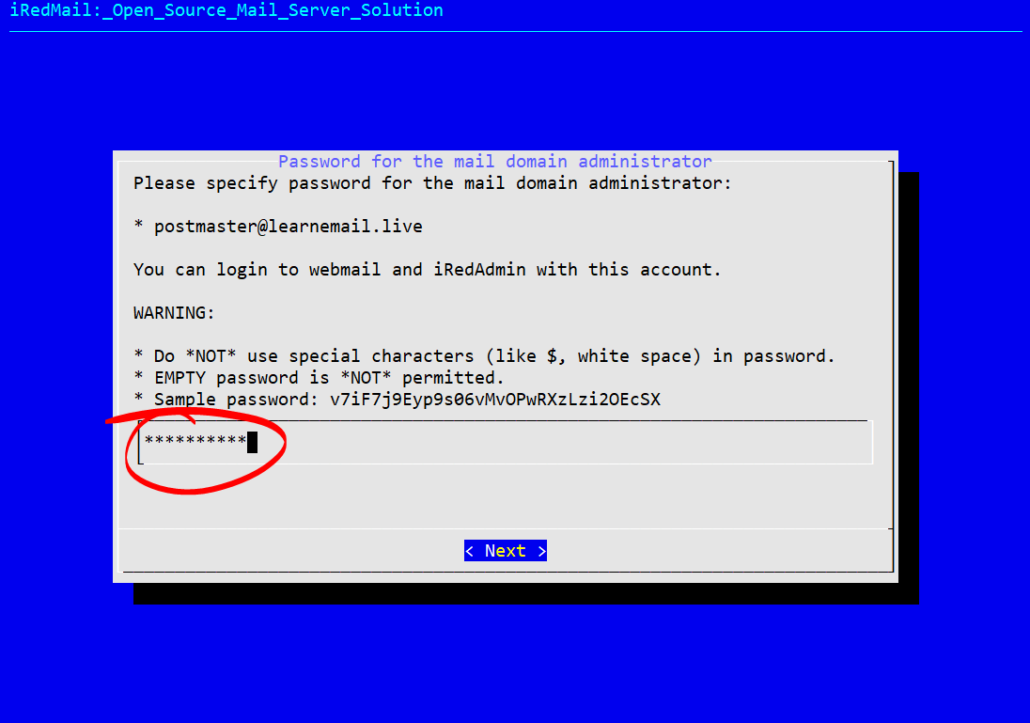
Now you will be asked to enter postmaster password
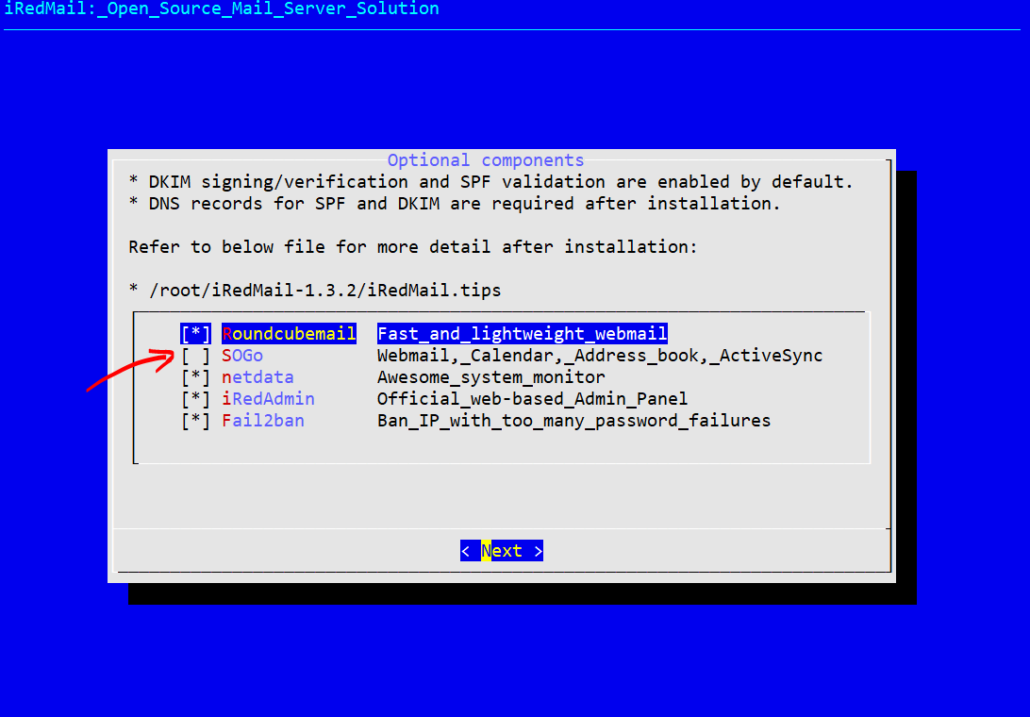
Here on this final screen, you have the option to install Webmail, Calendar, Address book & Activesync. Do not select SOGo unless your system has at least 8 GB of RAM. Make your selection then hit next.
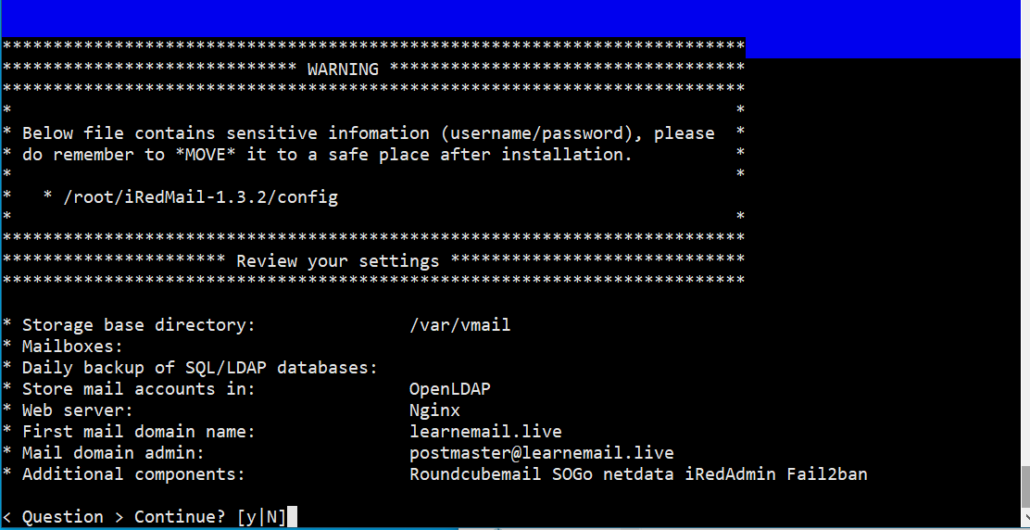
Finally the summary of all your choices. If you want to make any modifications press CTRL+C to stop the installation and start once again. Otherwise, type Y and continue.
At the end of installation, you will be asked to change the SSH port (port 22) or continue
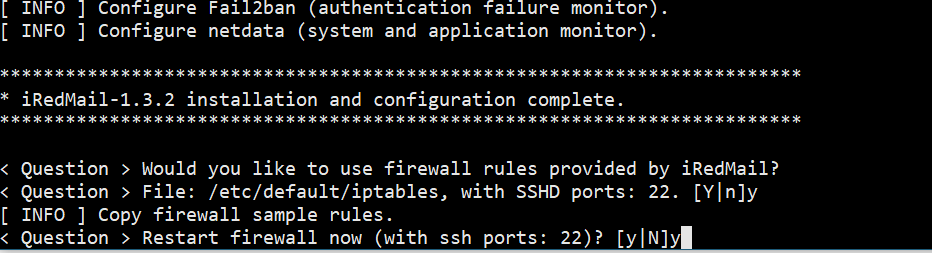
Now the installation has been finished. Reboot the system to enable all mail services.
Also, copy the different URLs generated for your application.
To open webmail go to https://mail.inlearn.in/mail
To open the admin panel go to https://mail.inlearn.in/iredadmin
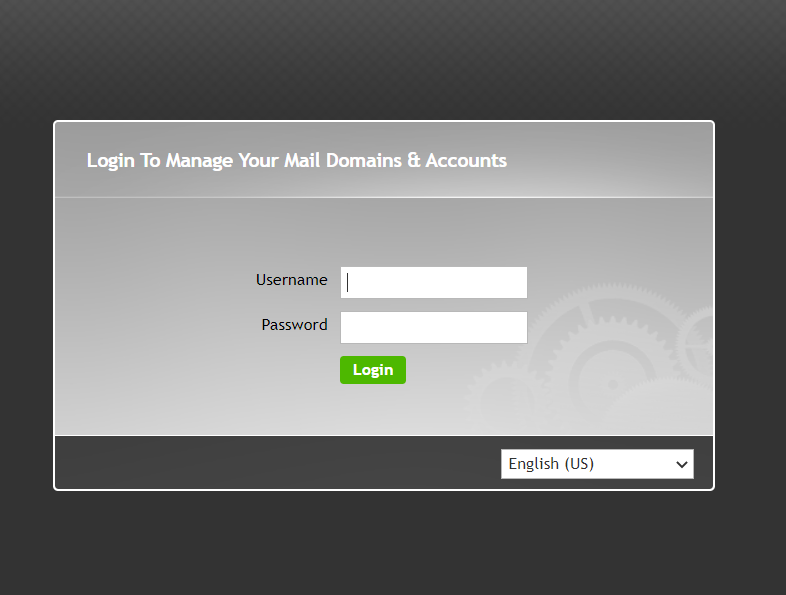
Login with your username and password
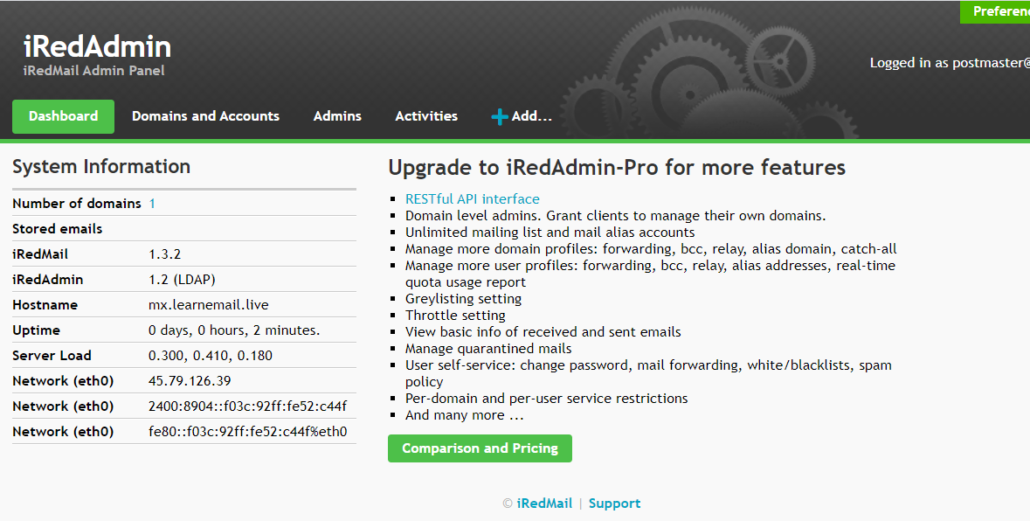
Now here you can add domains, create users, etc.
Conclusion
Installing iRedMail is easy and quick. It is loaded with several features and you have options to make a selection of features you like to install. It is a very robust system and it can easily handle a good amount of traffic.
Copying DKIM record to the DNS
To get the DKIM record go to the terminal and run the following command.
1 | amavisd-new showkeys |
The output would be something like this
1 2 3 4 5 6 | dkim._domainkey.mydomain.com. 3600 TXT ( "v=DKIM1; p=" "MIGfMA0GCSqGSIb3DQEBAQUAA4GNADCBiQKBgQDYArsr2BKbdhv9efugByf7LhaK" "txFUt0ec5+1dWmcDv0WH0qZLFK711sibNN5LutvnaiuH+w3Kr8Ylbw8gq2j0UBok" "FcMycUvOBd7nsYn/TUrOua3Nns+qKSJBy88IWSh2zHaGbjRYujyWSTjlPELJ0H+5" "EV711qseo/omquskkwIDAQAB") |
Copy the output of the command inside ( ) in one line and remove all quotes.
1 | v=DKIM1; p= MIGfMA0GCSqGSIb3DQEBAQUAA4GNADCBiQKBgQDYArsr2................... |
Comments 0
Be the first to share your thoughts!